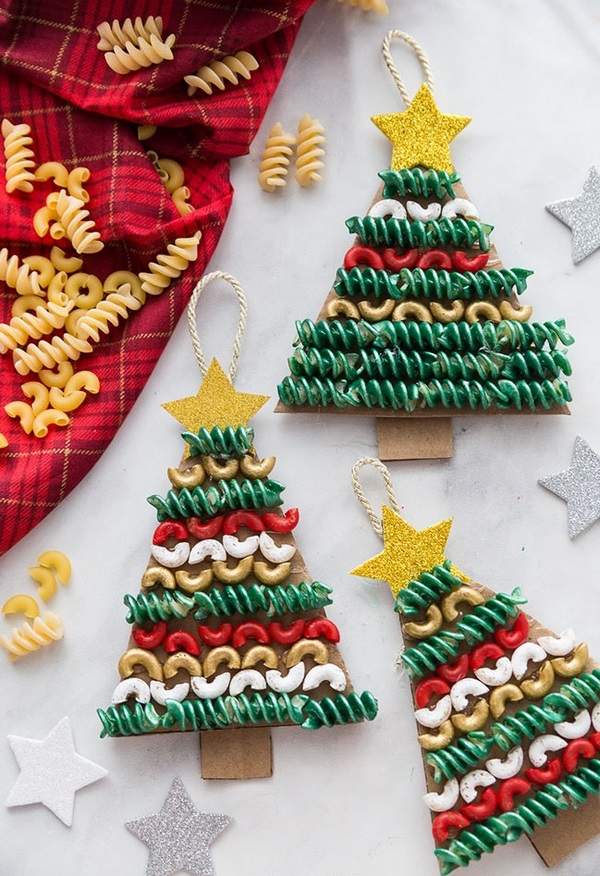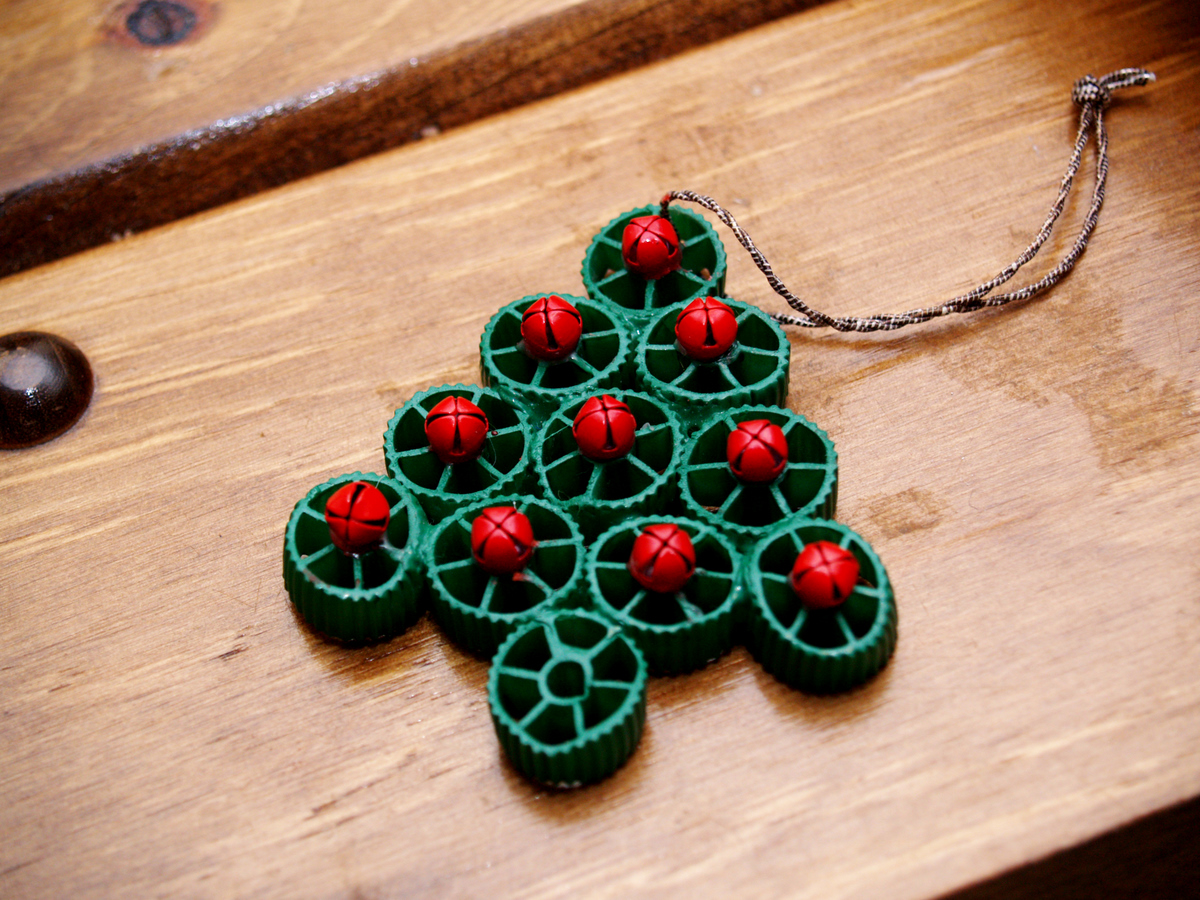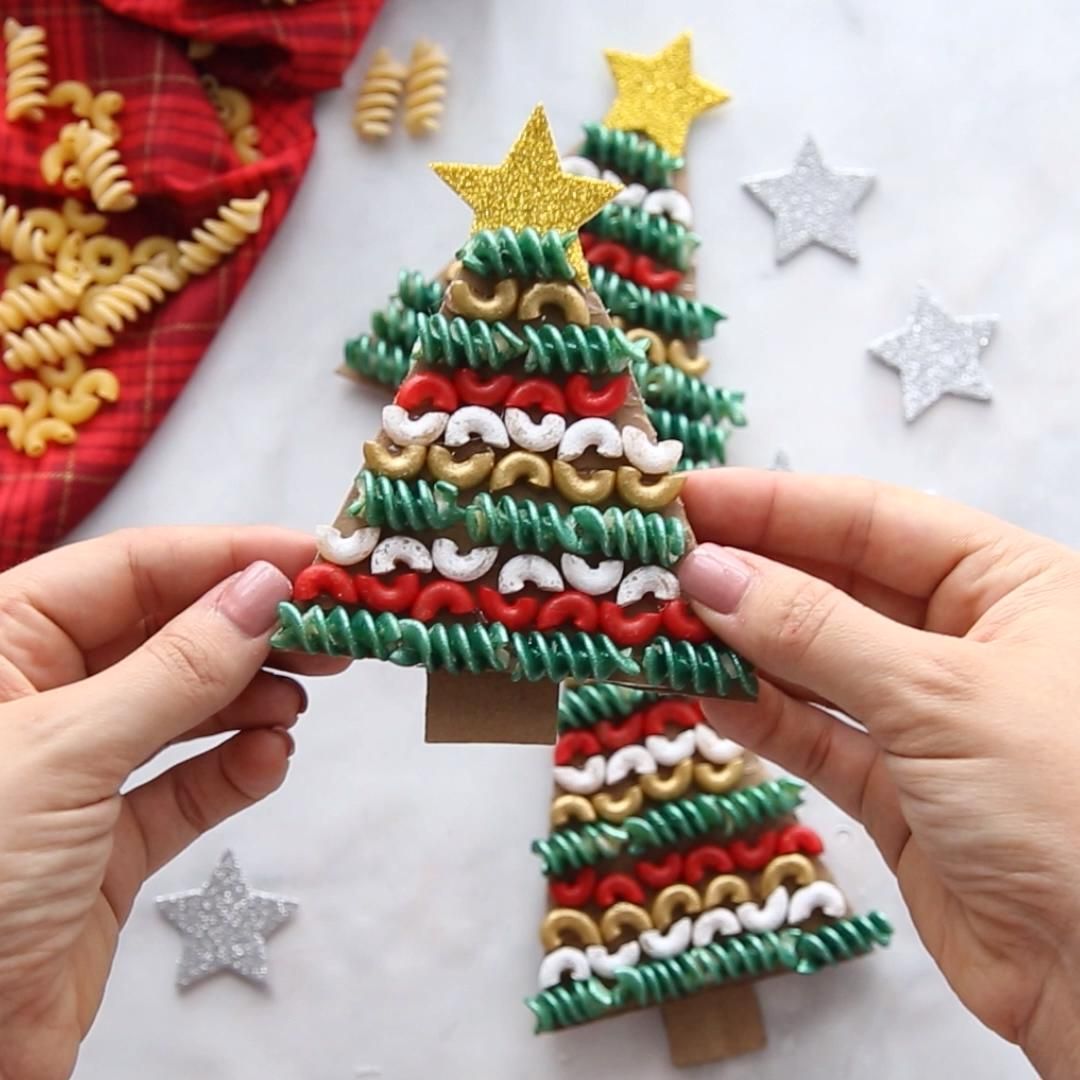
The holiday season is upon us, and what better way to get into the festive spirit than by creating your own unique Christmas tree ornaments? In this article, we'll explore the world of pasta Christmas tree ornaments and provide a step-by-step DIY guide to help you create your own beautiful and delicate decorations.
Why Pasta Christmas Tree Ornaments?
Pasta Christmas tree ornaments are a fun and creative way to add a personal touch to your holiday decor. They're also an excellent activity to enjoy with family and friends, making it a great way to spend quality time together. Moreover, pasta ornaments are eco-friendly, reusable, and can be customized to fit your personal style.

Materials Needed
To get started, you'll need the following materials:
- Various types of pasta (e.g., bow tie, penne, macaroni)
- White glue
- Water
- Food coloring (optional)
- Paint (optional)
- Glitter (optional)
- String or twine
- Scissors
- A surface to work on
Choosing the Right Pasta
When it comes to choosing the right pasta for your ornaments, the possibilities are endless. You can use different shapes, sizes, and colors to create unique and intricate designs. Some popular types of pasta for Christmas ornaments include:
- Bow tie pasta: Perfect for creating delicate, lacy designs
- Penne pasta: Great for making larger, more statement pieces
- Macaroni pasta: Ideal for creating curved, swirling patterns
Step-by-Step DIY Guide
Now that you have your materials, let's get started with the step-by-step DIY guide:
- Prepare your pasta: Sort through your pasta and separate the different shapes and sizes. If desired, dye your pasta with food coloring to create a uniform color.
- Create a design: Sketch out a rough design for your ornament on a piece of paper. Consider the shape, size, and pattern you want to create.
- Apply glue: Dip a small amount of white glue onto your work surface and apply it to the pasta, starting with the center piece.
- Add pasta pieces: Begin adding pasta pieces to your design, working from the center outwards. Use a small amount of glue to secure each piece.
- Add additional details: Use paint, glitter, or markers to add additional details to your ornament, such as texture, color, or patterns.
- Allow to dry: Let your ornament dry completely, either air-drying it or using a hairdryer on a low setting.
- Add a string: Once dry, thread a piece of string or twine through the top of your ornament, securing it with a small knot.

Tips and Variations
To take your pasta Christmas tree ornaments to the next level, consider the following tips and variations:
- Use different materials: Experiment with different materials, such as beads, sequins, or even natural elements like leaves or twigs.
- Add a theme: Create a themed ornament, such as a snowflake, a tree, or a festive holiday character.
- Make it 3D: Use multiple layers of pasta to create a 3D effect, adding depth and dimension to your ornament.
- Get creative with colors: Use a variety of colors to create a unique and eye-catching design.
Pasta Christmas Tree Ornament Ideas
For inspiration, here are some pasta Christmas tree ornament ideas:
- A delicate bow tie pasta snowflake
- A colorful penne pasta tree
- A macaroni pasta wreath with glitter accents
- A 3D bow tie pasta angel

Conclusion
Creating pasta Christmas tree ornaments is a fun and creative way to add a personal touch to your holiday decor. With this step-by-step DIY guide, you'll be able to create your own unique and delicate decorations. Don't be afraid to experiment and try new things – and most importantly, have fun!


What type of pasta is best for making Christmas tree ornaments?
+Bow tie pasta, penne pasta, and macaroni pasta are popular choices for making Christmas tree ornaments.
How do I dry my pasta Christmas tree ornaments?
+You can air-dry your pasta Christmas tree ornaments or use a hairdryer on a low setting to speed up the process.